
Introduction
ASP.NET Core is a powerful framework for building web APIs. In this tutorial, we will walk you through creating a simple API for testing. Whether you are a beginner or looking to refresh your knowledge, this guide will help you set up a basic web API project in no time.
Prerequisites
Before we begin, ensure you have the following installed on your development machine:
- Visual Studio (2019 or later)
- .NET Core SDK (3.1 or later) (I am using 8 for this tutorial)
Step-by-Step Guide to Creating a Simple ASP.NET Core API
Step 1: Create a New Web API Project
- Open Visual Studio.
- Click on Create a new project.
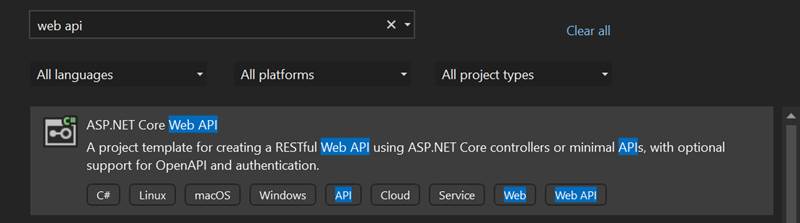
- Select the template ASP.NET Core Web API Application and click Next.
- Name your project and click Next.
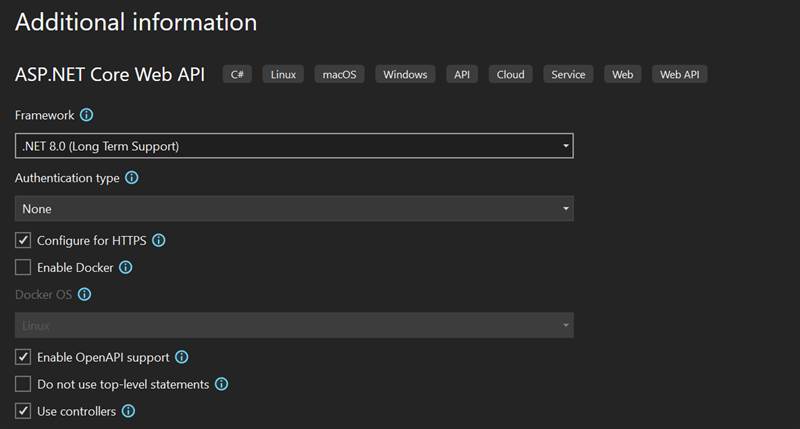
- Provide Additional information. I am selecting .NET 8.0 as a framework. Click Create.
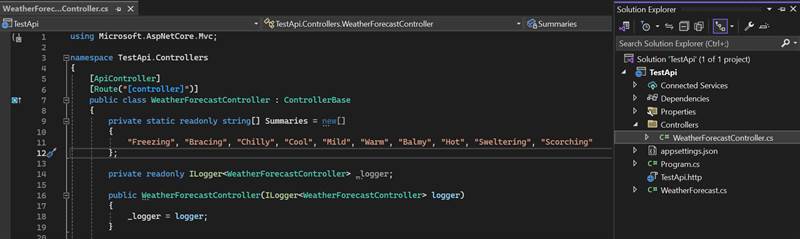
- Once the project gets created. You will find one controller by default available called WeatherForecastController.
Step 2: Create our API
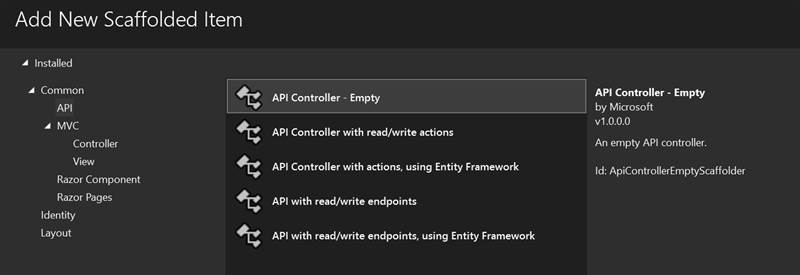
- Right click on Controllers > Add > Controller.
- Click on API on the left and select API Controller - Empty.
- Give it a name and click on Add.
- Add the following code. I am adding one get method which is just returning "Hello World!".
using Microsoft.AspNetCore.Http;
using Microsoft.AspNetCore.Mvc;
namespace TestApi.Controllers
{
    [Route("api/[controller]")]
    [ApiController]
    public class TestApiController : ControllerBase
    {
        [HttpGet]
        public IActionResult Get()
        {
            return Ok(new { Message = "Hello, World!" });
        }
    }
}
Step 3: Run the Application
- Press F5 to run the application.
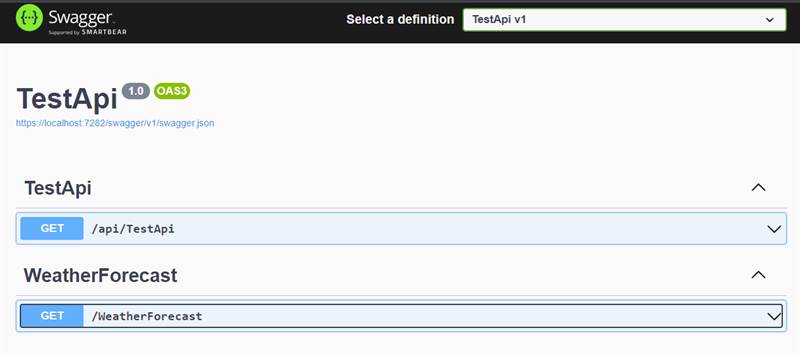
- You will see the Swagger UI with your API endpoints listed.
Step 4: Test the API Endpoints
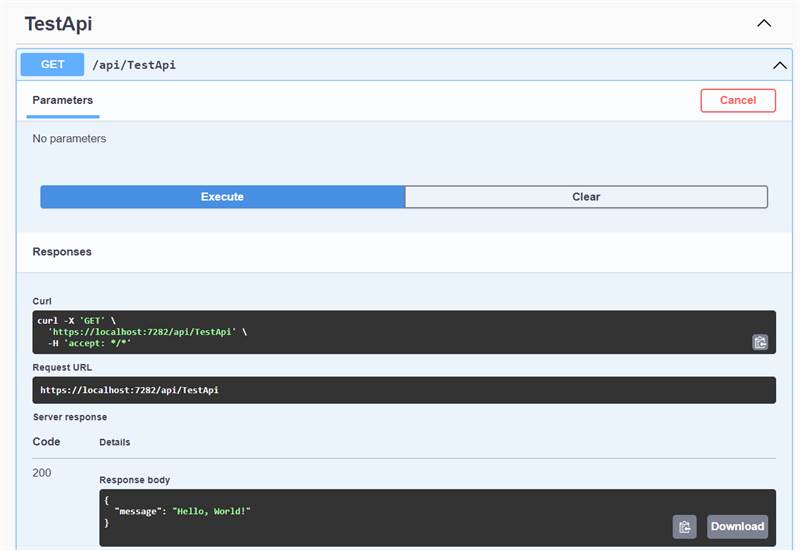
- Using the Swagger UI, you can test the endpoints.
- Click on execute and it will give the data as response.
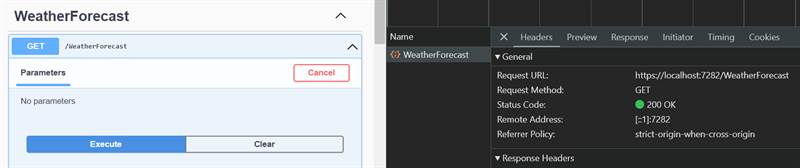
- If you want to check which URL it's hitting then open developer tools and go to network tab. Click on execute button for the endpoint and you will see one request on the network. Click on it. On the Headers tab, you will get the Request URL. That's the API URL.
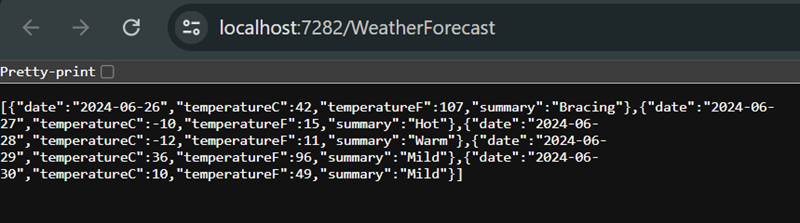
- You can even run the URL on the new tab and it will give the response.
Conclusion
Congratulations! You've successfully created a simple ASP.NET Core API for testing purposes. This basic setup can serve as a foundation for more complex APIs. Remember, practice makes perfect, so continue experimenting and building upon what you've learned.
In the next blog, we will schedule this test API call with Hangfire. Here's the link for that blog.
