
1. Introduction to Umbraco
Umbraco is a highly versatile and user-friendly CMS that allows developers to create dynamic websites and applications. Known for its flexibility and extensive customization options, Umbraco is ideal for a range of projects from small blogs to large enterprise solutions.
2. Prerequisites
- Visual Studio 2019 or later
- .NET SDK installed (version 8)
3. Installing Umbraco
To install Umbraco, follow these steps:
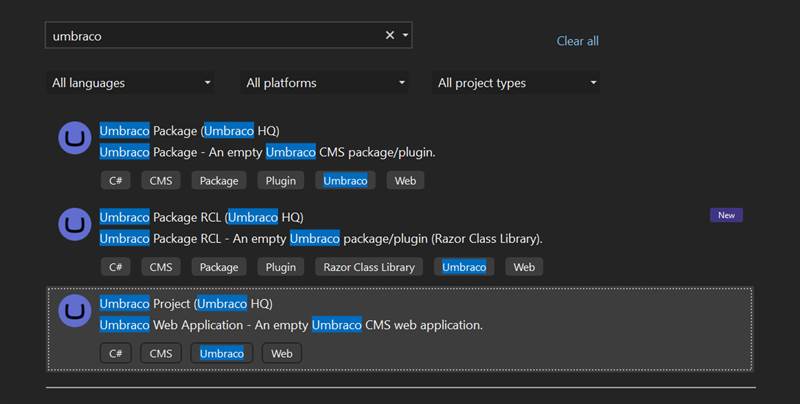
Step 1: Install Umbraco Template
- dotnet new install Umbraco.Templates::13.6.0 to install the project templates. After installing that, you will see the umbraco templates while creating a new project.
Step 2: Create a New Project
- Open Visual Studio and create a new Umbraco Project. Name your project and choose the appropriate location. Select the Framework and fill other additional information if needed.

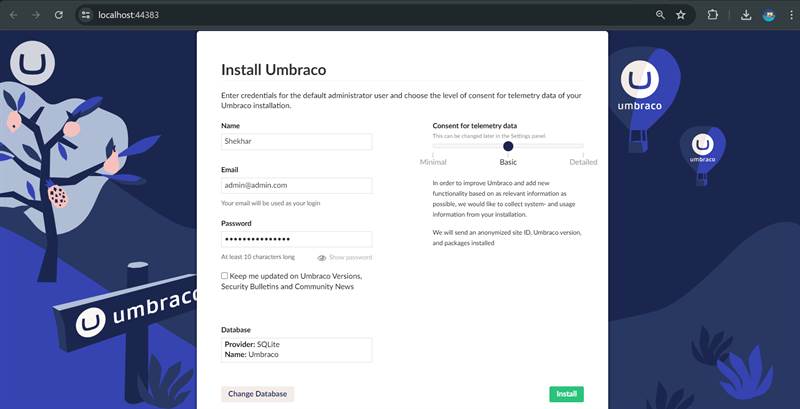
4. Setting Up Your project
Run the project. You will get the below screen. Add your details and click on Change database if you don't want to use SQLite and click on Install.
You will get the below screen. Add your credentials and login.

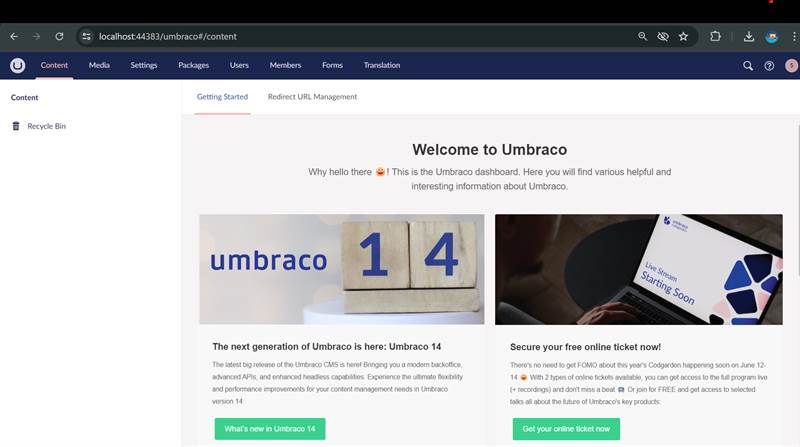
After login, this screen will come:
5. Conclusion
Creating a new Umbraco project is straightforward and highly customizable, making it a great choice for developers of all levels. By following this step-by-step guide, you can set up your Umbraco project and start building dynamic, content-rich websites.
If you found this guide helpful, consider sharing it with others looking to get started with Umbraco. Happy coding!
