
Introduction:
In today's interconnected digital world, securing user data and authentication is paramount. One of the tried-and-true methods for achieving this is through forms authentication. In this blog post, we will explore how to implement forms authentication in a .NET application, ensuring robust security and a seamless user experience. Get ready to dive into the step-by-step guide and unlock the full potential of forms authentication!
What is Two-Factor Authentication (2FA)?
Two-Factor Authentication (2FA) is a security mechanism that adds an extra layer of protection to user accounts by requiring users to provide two different forms of identification or verification during the login process. The two factors typically involve something the user knows (such as a password or PIN) and something the user possesses (such as a mobile device or hardware token).
The benefits of Two-Factor Authentication (2FA):
1. Enhanced Security: By adding an additional factor of authentication, 2FA significantly strengthens the security of user accounts. Even if a hacker manages to obtain the user's password, they would still need access to the second factor to gain entry, making it much more difficult for unauthorized individuals to gain access to sensitive information.
2. Protection against Password-Related Attacks: 2FA provides an extra layer of defense against common password-related attacks, such as phishing, brute force attacks, and credential stuffing. Even if an attacker obtains a user's password, they would still be unable to access the account without the second authentication factor.
3. Mitigation of Data Breach Risks: In the event of a data breach where user credentials are compromised, 2FA helps minimize the impact by making it nearly impossible for the attacker to gain unauthorized access without the second factor. This adds an extra level of protection to user data and prevents potential identity theft or fraudulent activities.
4. Convenience for Users: Contrary to the misconception that implementing 2FA adds complexity for users, it can actually enhance convenience. With 2FA, users can have the flexibility to choose from various authentication methods, including SMS codes, email verification, authenticator apps, or hardware tokens. Additionally, most authentication methods can be set up for "remembering" the device for future logins, reducing the frequency of entering the second factor.
5. Regulatory Compliance: Many industries and jurisdictions have specific regulations and compliance requirements concerning data protection and user security. Implementing 2FA helps organizations meet these requirements and demonstrate their commitment to safeguarding user information.
6. Trust and User Confidence: By implementing 2FA, organizations can instill trust and confidence in their user base. Users appreciate the added security measures and are more likely to trust and engage with platforms that prioritize their security and privacy.
7. Cost-Effective Security Measure: Compared to other security measures, implementing 2FA is relatively cost-effective. Many 2FA solutions, such as the Google Authenticator NuGet package mentioned in the blog post, are readily available and can be easily integrated into existing applications without requiring significant financial investment.
Step 1: Create an ASP.NET MVC Project
1. Open Visual Studio and click on Create a new project.
2. Select ASP.NET Web Application (.NET Framework) from the list of templates and click on Next.
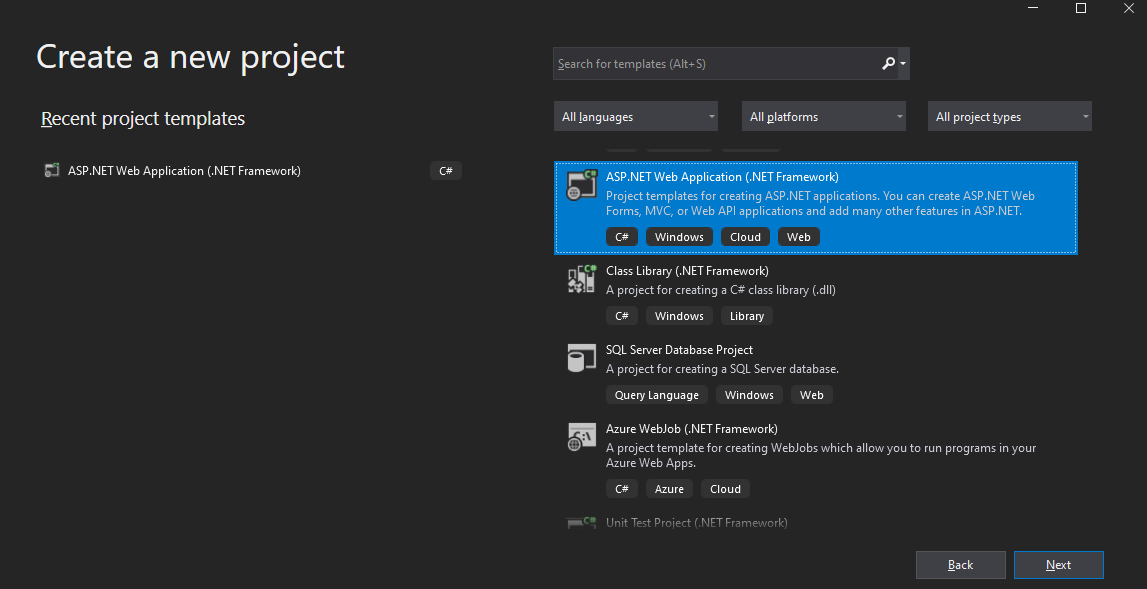
3. Give the name to the project and click on Create.

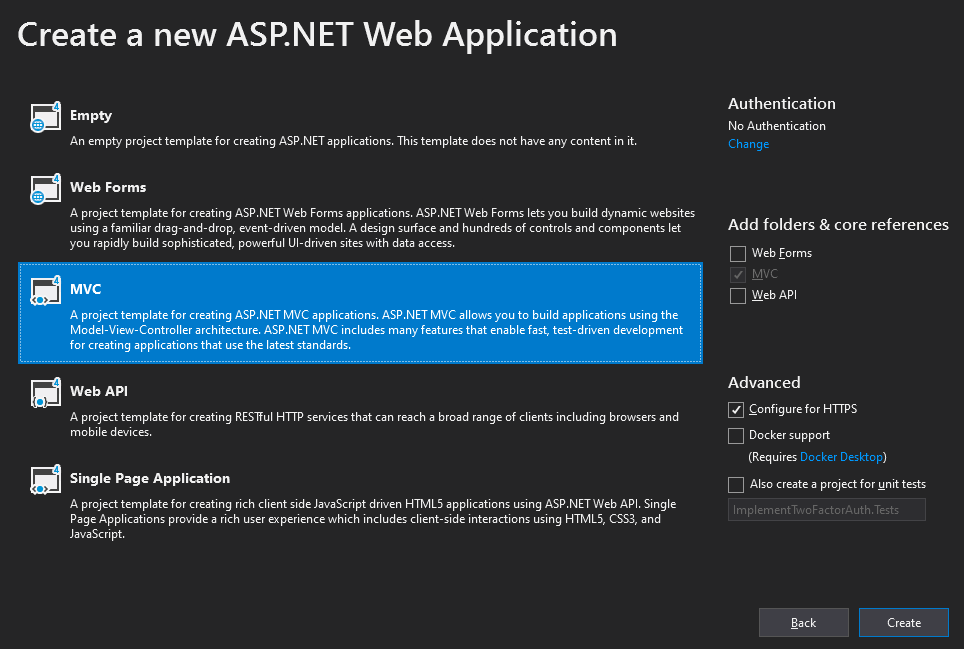
4. Select MVC and click on Create.
Step 2: Install Google Authenticator NuGet package
We are using the Google Authenticator NuGet package for setting up the two factor authentication. Follow the steps below to install the package:
1. Right click on the Project Name and click on Manage NuGet Packages…
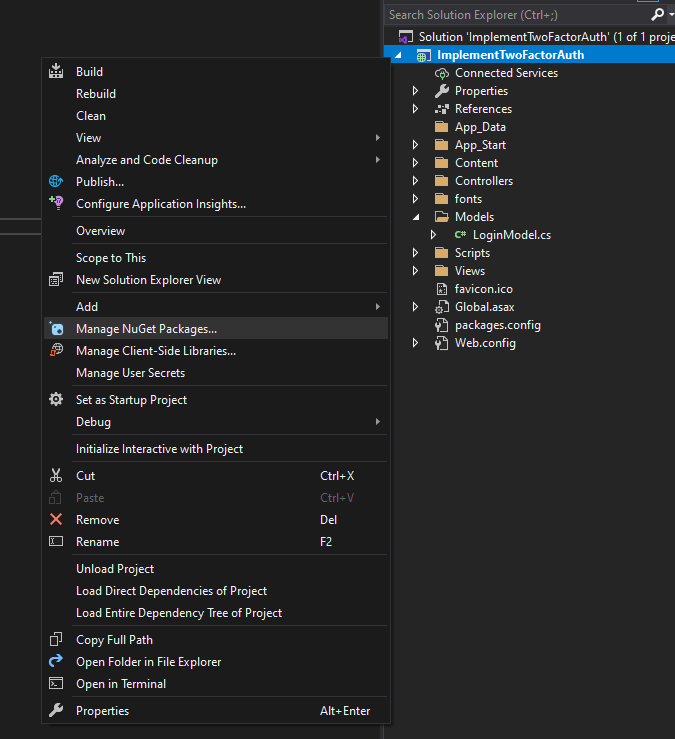
2. Search for Google Authenticator. Click on install to install the package.

Step 3: Configure Web.config
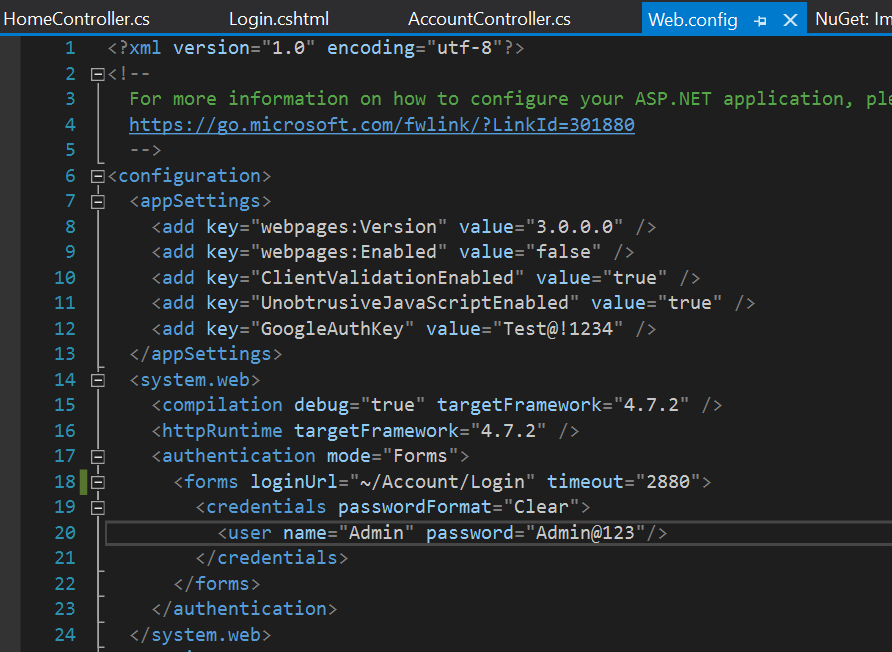
1. We need to add the Google Authentication Private Key in Web.Config file under <appSettings>. This key can be anything.
2. We are using Forms Authentication for the authentication. We will need to add the setup code in Web.Config file. If you want to explore more about Forms Authentication, then feel free to visit here, I have already written a detailed blog post on that.
3. Below code needs to be added in Web.Config for setting up the above points.
<appSettings>
<add key="webpages:Version" value="3.0.0.0" />
<add key="webpages:Enabled" value="false" />
<add key="ClientValidationEnabled" value="true" />
<add key="UnobtrusiveJavaScriptEnabled" value="true" />
<add key="GoogleAuthKey" value="Test@1234!!" />
</appSettings>
<system.web>
<compilation debug="true" targetFramework="4.7.2" />
<httpRuntime targetFramework="4.7.2" />
<authentication mode="Forms">
<forms loginUrl="~/Account/Login" timeout="2880">
<credentials passwordFormat="Clear">
<user name="Admin" password="Admin@123"/>
</credentials>
</forms>
</authentication>
</system.web>
Step 4: Create a Login Controller and Views
Let’s add a new controller for writing the code for login, logout and 2-factor authentication.
1. Right click Controllers folder. Click on Add and then Controller.
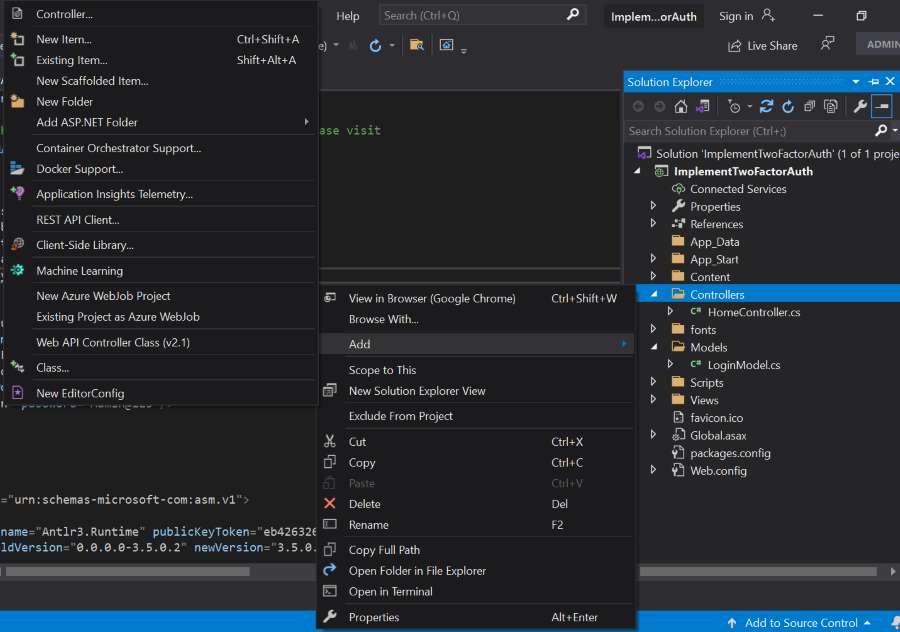
2. Select MVC 5 Controller – Empty and click on Add.

3. Give the controller name and click on Add.

4. Add the below code on the AccountController. All the code for login, logout and 2-factor authentication setup is written below.
using Google.Authenticator;
using System;
using System.Collections.Generic;
using System.Linq;
using System.Text;
using System.Web;
using System.Web.Configuration;
using System.Web.Mvc;
using System.Web.Security;
namespace ImplementTwoFactorAuth.Controllers
{
public class AccountController : Controller
{
public ActionResult Login()
{
return View();
}
[HttpPost]
public ActionResult Login(string username, string password)
{
if (IsValidUser(username, password))
{
//setting auth cookie
FormsAuthentication.SetAuthCookie(username, false);
//redirecting to two factor authentication setup page
return RedirectToAction("ShowAuthenticationTokenPage", "Account");
}
else
{
ViewBag.ErrorMessage = "Invalid username or password";
return View();
}
}
public ActionResult ShowAuthenticationTokenPage()
{
string googleAuthKey = WebConfigurationManager.AppSettings["GoogleAuthKey"];
//Two Factor Authentication Setup
TwoFactorAuthenticator TwoFacAuth = new TwoFactorAuthenticator();
var setupInfo = TwoFacAuth.GenerateSetupCode("Shekhartarare.com", "Admin", ConvertSecretToBytes(googleAuthKey, false), 300);
//Explaination of the above code:
//"Shekhartarare.com": Name of the issuer. It will be displayed in the Google Authenticator app when the user scans the QR code.
//"Admin": This is the account name or label for the user.
//ConvertSecretToBytes(googleAuthKey, false): It's to convert the googleAuthKey into a byte array.
//The googleAuthKey is the secret key used for generating the TOTP(time - based one - time password).
//300: It represents the number of seconds for which the setup code will be valid.In this case, it's set to 300 seconds (5 minutes).
//qr code image
ViewBag.BarcodeImageUrl = setupInfo.QrCodeSetupImageUrl;
//manual entry key
ViewBag.SetupCode = setupInfo.ManualEntryKey;
return View();
}
[HttpPost]
public ActionResult AuthenticateToken()
{
var token = Request["EnteredCode"];
bool isValid = ValidateToken(token);
if (isValid)
{
// Redirect to default landing page after successful auth
return RedirectToAction("Index", "Home");
}
else
{
//else trasferring again to login page
return RedirectToAction("Logout");
}
}
public bool ValidateToken(string token)
{
string googleAuthKey = WebConfigurationManager.AppSettings["GoogleAuthKey"];
//Adjust the validation window to allow a time skew of 1 step (30 sec)
//This is a fix for the problem : If the server and the client have a significant time difference,
//it can cause the tokens to remain valid for longer than intended
//To fix that, we have added the time skew. By allowing a time skew in the validation window, you can accommodate
//minor time differences between the server and the client, reducing the chance of expired tokens being accepted.
int validationWindow = 1;
TwoFactorAuthenticator TwoFacAuth = new TwoFactorAuthenticator();
return TwoFacAuth.ValidateTwoFactorPIN(googleAuthKey, token, validationWindow);
}
private static byte[] ConvertSecretToBytes(string secret, bool secretIsBase32) =>
secretIsBase32 ? Base32Encoding.ToBytes(secret) : Encoding.UTF8.GetBytes(secret);
public ActionResult Logout()
{
FormsAuthentication.SignOut();
return RedirectToAction("Login");
}
private bool IsValidUser(string username, string password)
{
//using forms auth for verifying the id & password
return FormsAuthentication.Authenticate(username, password);
}
}
}
5. Let’s add the Login View. Right click on the Login action method and click on Add View.

6. Select MVC 5 View and click on Create.
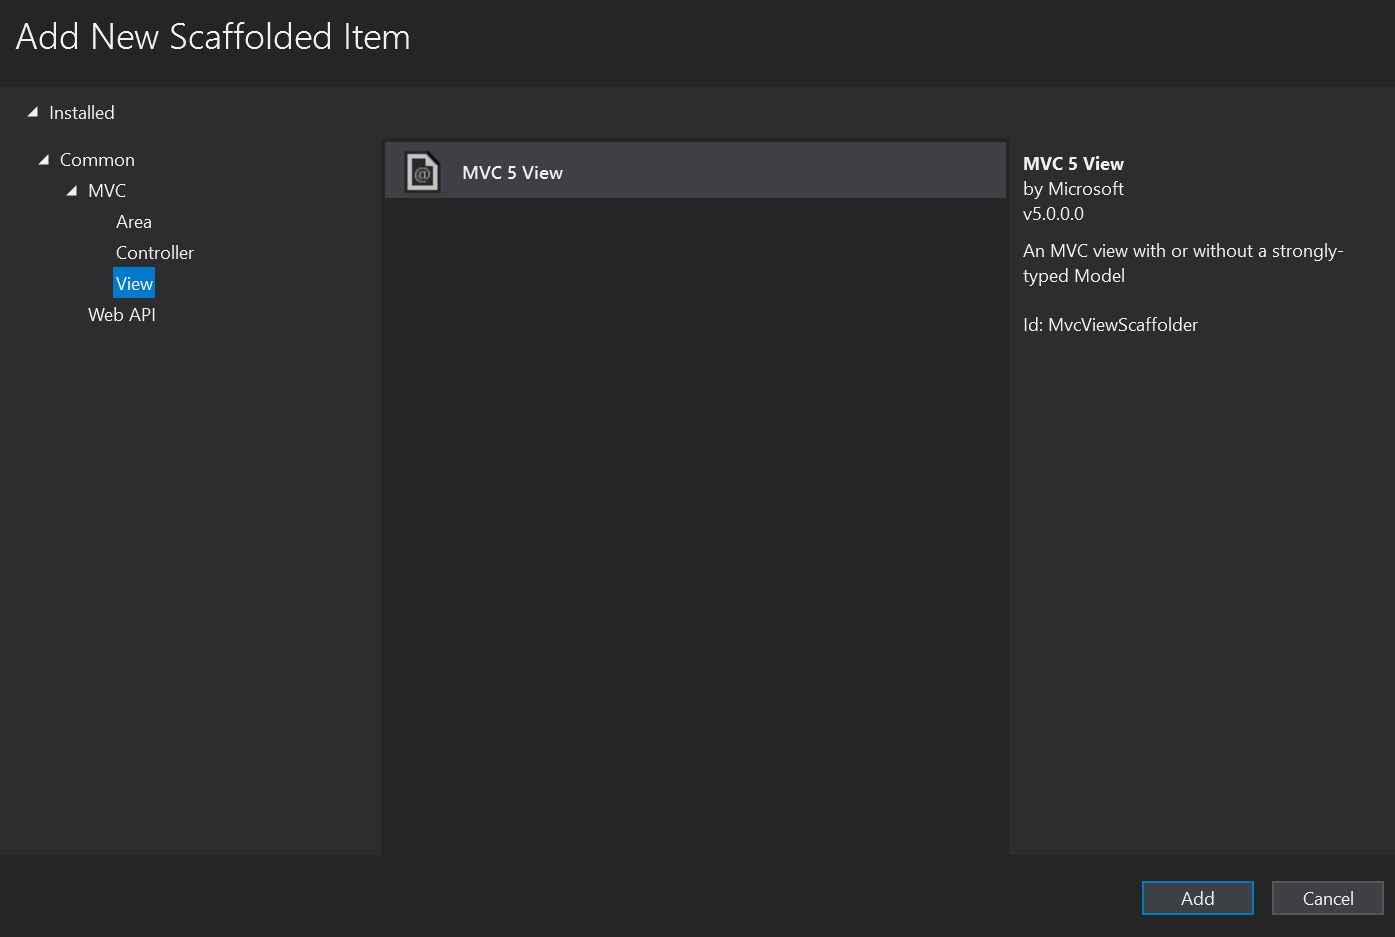
7. Give the view name and click on Add.
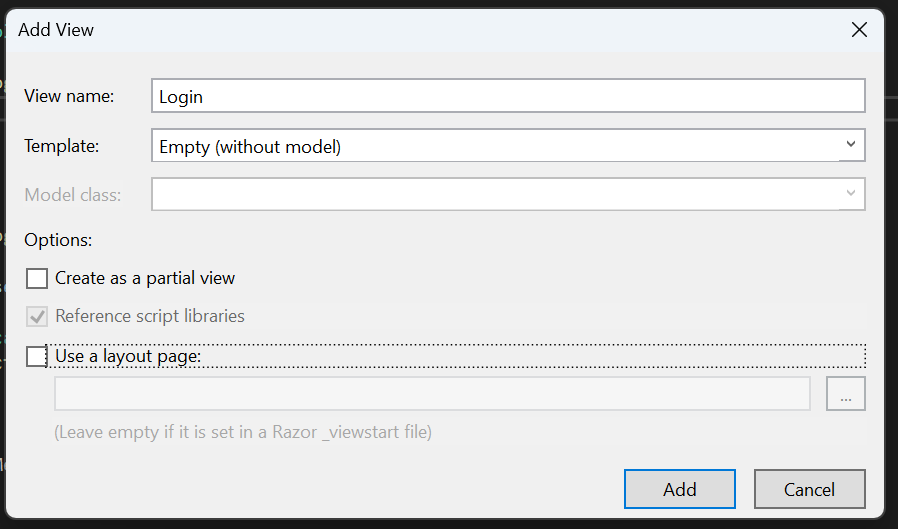
8. Add the below code under Login view. In the below code, we are creating the form with Username and Password fields and a submit button. There is a paragraph tag below that, which is just printing the value obtained from the ViewBag.
@model dynamic
@{
ViewBag.Title = "Login";
}
<h2>Login</h2>
@using (Html.BeginForm())
{
@Html.ValidationSummary(true)
<div>
<label for="username">Username:</label>
@Html.TextBox("username")
</div>
<div>
<label for="password">Password:</label>
@Html.Password("password")
</div>
<input type="submit" value="Login"/>
}
<p>@ViewBag.ErrorMessage</p>
9. After the successful login, we will show the 2 factor authentication setup page. Let’s add the view for that. Right click on the ShowAuthenticationTokenPage action method and click on Add View.
10. Select MVC 5 View and click on Create.

11. Give the view name and click on Add.

12. Add the below code under ShowAuthenticationTokenPage view. With the code below, a QR image and manual setup code will be printed. Also, a form with an input field and a submit button will be shown. The user can scan the code using the authenticator app and enter the 6 digit token to verify it.
@{
Layout = null;
}
<!DOCTYPE html>
<html>
<head>
<meta name="viewport" content="width=device-width"/>
<title>Two Factor Authentication</title>
@Styles.Render("~/Content/css")
@Scripts.Render("~/bundles/bootstrap", "~/bundles/jquery")
</head>
<body>
<div class="m-2 text-center">
<h2>Two Factor Authentication</h2>
<div class="container">
<div>@ViewBag.Message</div>
<div>
<img src="@ViewBag.BarcodeImageUrl" width="300" height="300"/>
</div>
<div>
Manual Setup Code : @ViewBag.SetupCode
</div>
<br>
<div class="row">
<div class="text-center">
<h2 class="text-info">2FA Security</h2>
<p class="mb-4">Enter 6-digits code from the authenticatior app.</p>
@using (Html.BeginForm("AuthenticateToken", "Account", FormMethod.Post))
{
<input type="text" name="EnteredCode"/><br/><br/>
<input type="submit" class="btn btn-success form-control"/>
}
</div>
</div>
</div>
</div>
</body>
</html>
Step 5: Protect Authorized Actions
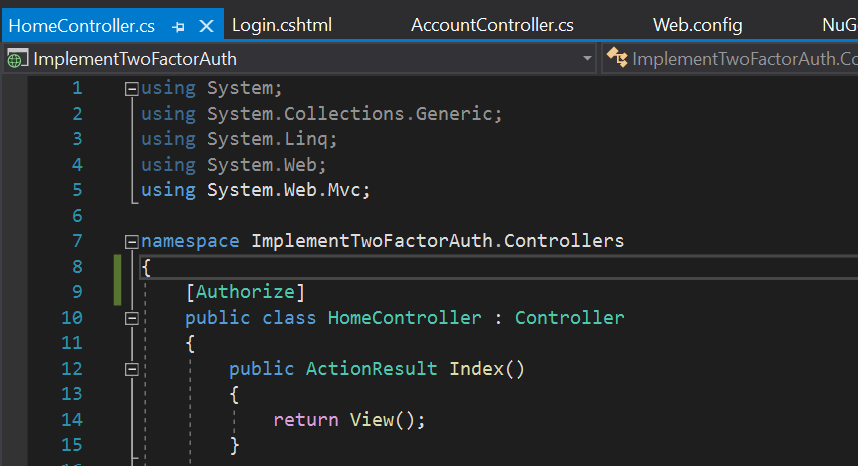
1. In the Login Action method under the AccountController, We have written the code to Redirect to the Index action method of the HomeController when the username and password in valid. To protect the Index action method from anonymous access, we need to add the Authorize attribute. With this attribute, only authorized users can access that action method. I have added the [Authorize] at the top of the HomeController.
Step 6: Change on the Layout file
1. Open the _Layout file. Add the below block of code to show the Logout button, once the user gets log in. The code below is checking whether the user is authenticated or not and showing the Logout button, if user is authenticated.
@if (User.Identity.IsAuthenticated)
{
<li>@Html.ActionLink("Logout", "Logout", "Account")</li>
}

Step 7: Demo
1. After running the project, we will get the below screen.

2. After entering the correct username and password, we will get the below screen.
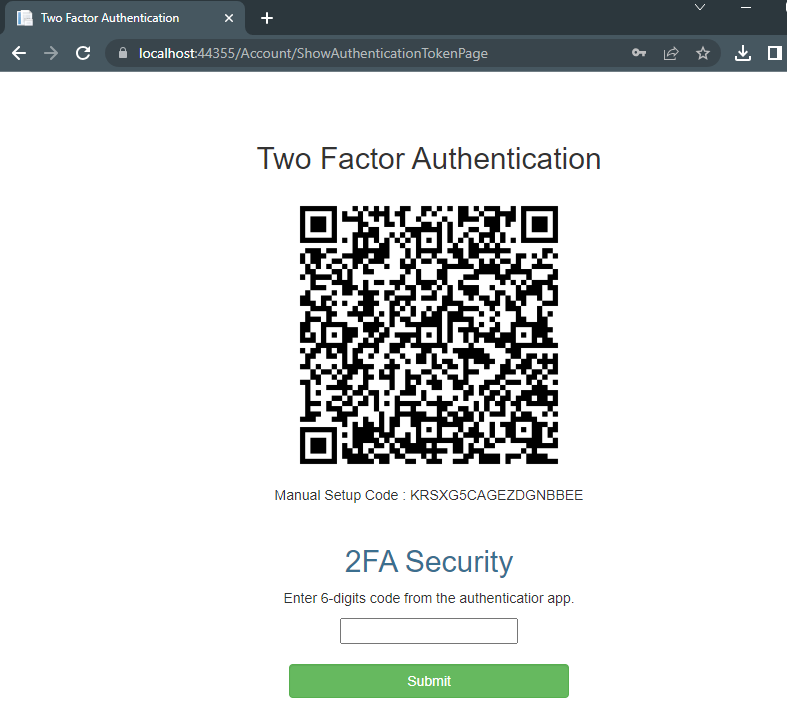
3. After scanning the QR code from the authenticator app. An entry will be added on the authenticator app. It will look something like the below screen.

4. After entering the 6 digit code in the two factor authentication setup page. We will get the below screen. It is having the logout button. If we click on it, it will redirect to the login page.
Note: The above project is just to show you, how we can implement the two factor authentication in ASP.NET MVC. Please feel free to customise it according to your needs.
The project code is available here.
Conclusion:
In this blog post, we explored the implementation of two-factor authentication using the Google Authenticator in an ASP.NET MVC application. By incorporating 2FA into your application, you have taken a significant step towards bolstering the security of user accounts. Remember to regularly update and monitor your application's security measures to stay ahead of potential threats. With 2FA in place, you can provide your users with peace of mind and safeguard their valuable data.
