
Introduction:
In today's fast-paced digital world, users expect quick and intuitive interfaces that enhance their experience. When working with large HTML tables, providing an autocomplete feature can significantly improve usability by allowing users to quickly search and filter data. In this blog post, we will explore how to create a simple autocomplete feature for an HTML table using jQuery, making your table more user-friendly and efficient.
Prerequisites:
1. Basic knowledge of HTML, CSS, and JavaScript.
2. jQuery library included in your project.
Step 1: Setting up the HTML Table
Start by creating a basic HTML table structure that will serve as the foundation for our autocomplete feature. Each row in the table should represent a record, and each cell should contain the data.
Step 2: Including jQuery and jQuery UI Libraries
To enable autocomplete functionality, we need to include both the jQuery and jQuery UI libraries. Make sure you have the latest versions of both libraries and include the following lines in your HTML file:
Step 3: Implementing Autocomplete
To add the autocomplete feature to our table, we will use the jQuery UI Autocomplete widget. Add the following JavaScript code to your HTML file:
Explanation of the above code:
· The code sets up an autocomplete feature for a search input field based on data from an HTML table.
· When the document is ready, it fetches the data from the table and stores it in an array called tableData.
· The Autocomplete widget is initialized on the search input field. It uses tableData as the data source and requires a minimum of one character to trigger autocomplete suggestions.
· When a value is selected from the autocomplete suggestions, the corresponding rows in the table are displayed while hiding the rest.
· If there are no autocomplete suggestions, a message is displayed indicating no matching results were found.
· When the search input field is empty, all rows in the table are shown, and any previous message indicating no results is cleared.
· The code utilizes jQuery to manipulate the DOM, find elements by their IDs or tags, and perform actions such as hiding or showing elements.
Step 4: Adding the Search Input Field and Result Message
Include an input field where users can enter their search queries, along with a message area to display when no results are found.
Step 5: Final Code & Demo
Below is the complete code:
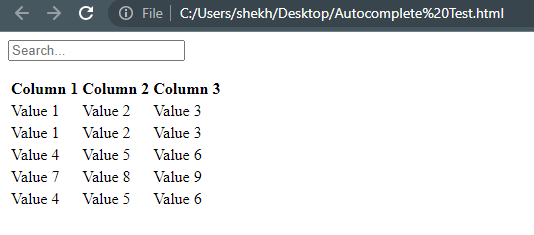
Create a new html and paste the above code into it and run the file. You will get the below UI:
If we enter v in the search field then it tries to show all the matching values:
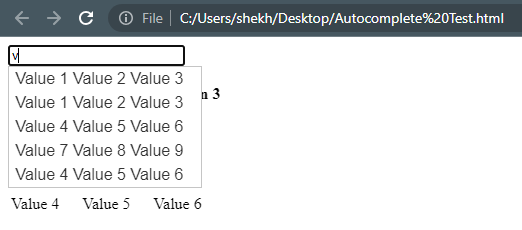
If you click any of them then it will only show the related records in the table. For the testing purpose, I am selecting the first suggestion.

Conclusion:
By following these steps, you can enhance your HTML table by implementing an interactive autocomplete search feature using jQuery. Users can now enter search queries, and the table will display the rows matching the search criteria in real-time. This feature greatly improves usability and provides a more engaging experience for your users. Feel free to customize the code to fit your specific requirements and unleash the full potential of your HTML tables. Happy coding!
