Introduction:
Azure Pipelines is a powerful tool for automating software delivery and deployment processes. When working with databases, it is often necessary to execute SQL scripts as part of the deployment pipeline. In this blog post, we will explore how to run a SQL script from an Azure Pipeline using a Service Principal with Certificate authentication. This approach offers a secure and efficient way to manage database changes within your CI/CD workflow.
Prerequisites:
Let's ensure we have the necessary prerequisites in place:
1. Azure DevOps Account: You should have an active Azure DevOps account with the appropriate permissions to create and manage pipelines.
2. SQL Server or Azure SQL Database: You need to have an existing SQL Server or Azure SQL Database instance where the SQL script will be executed.
What is Service Principal?
Before we delve into the step-by-step process, let’s first try to understand what exactly is Service Principal:
A service principal is like a virtual identity or a user account created specifically for a service or application to access resources in a secure manner. It is typically used in cloud environments, such as Microsoft Azure or AWS, where services and applications need to interact with other resources, like databases, storage, or APIs.
For example, let's say you have a chatbot that needs to access a database to retrieve information. Instead of using your personal username and password to connect to the database, you can create a service principal for the chatbot.
The service principal will have its own set of login credentials, like a username and password, that are separate from your personal account. These credentials are used by the chatbot to securely access the database.
By using a service principal, you keep your personal account information safe and make sure that only the chatbot has access to the database, without needing to use your own credentials. It's like giving the chatbot its own "special" login that it can use to do its job without accessing your personal account.
Step 1: Generate a certificate
I have already written a blog to generate a self-signed certificate using Azure key vault. You can go here to read it. We are going to use the same certificate. However, keep in mind that self-signed certificates are not trusted by default by most clients and browsers. For production environments or public-facing websites, it is recommended to obtain certificates from trusted certificate authorities (CAs). Nevertheless, self-signed certificates serve as a convenient option for testing and internal use cases.
1. While creating the certificate using Azure Key Vault, make sure the content-type is set to PEM, else it will generate the pfx file later on when we click on the download button.

2. We have the below certificate in the Azure key vault.
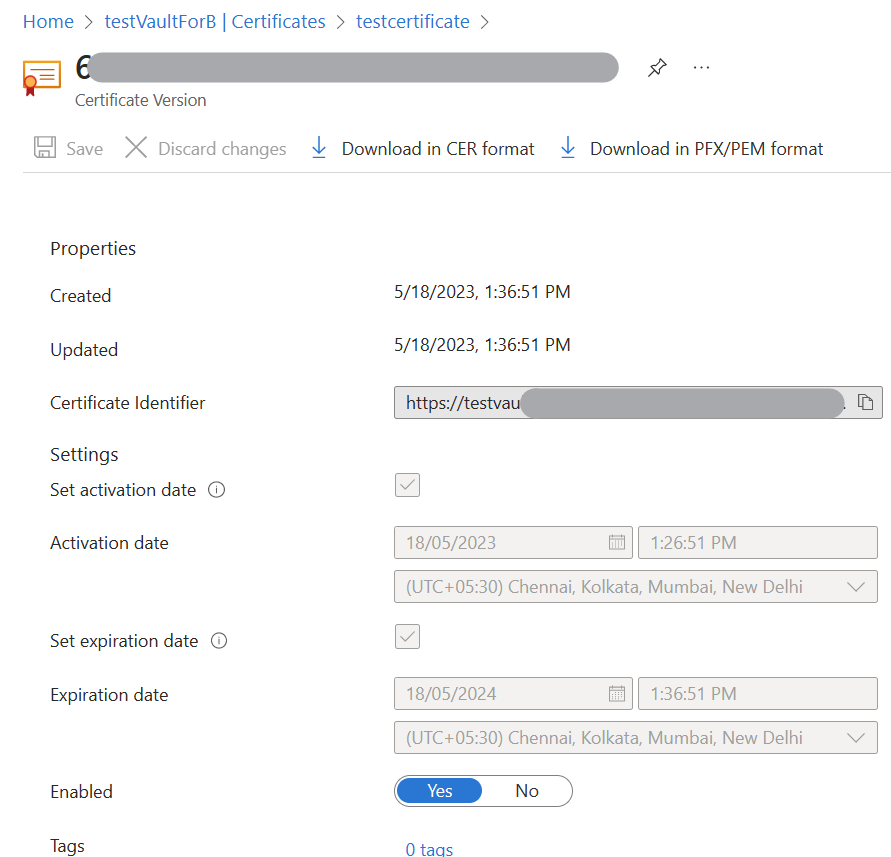
3. Download the certificate in PEM format by clicking the Download in PFX/PEM format button. Also, download the certificate in CER format by clicking the Download in CER format button. We will use PEM format certificate while setting up the service connection and CER format certificate while setting up the service principal.
Note: You might face one issue while downloading. After clicking the download button it sometimes, download the certificate in PFX format. But, for the service connection, we need certificate in PEM format. You can convert the certificate from PFX to PEM by following the steps below:
a) Install OpenSSL
b) Use this command to convert the pfx file to pem: openssl pkcs12 -in filename.pfx -out cert.pem –nodes
Step 2: Create a Service Principal in Azure Portal
1. Sign in to the Azure portal (https://portal.azure.com) with your Azure account credentials.
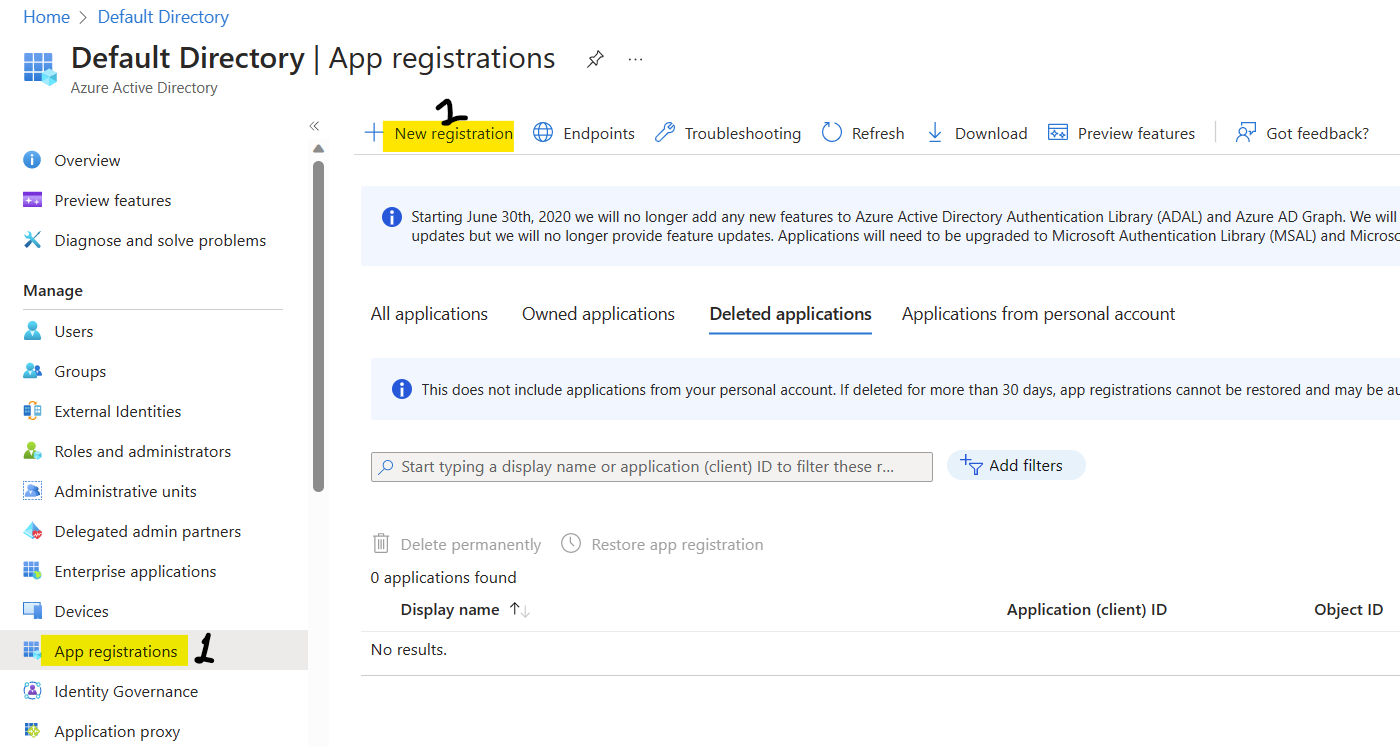
2. Navigate to the Azure Active Directory (AD) service.
3. Under the App registrations section, click on New registration to create a new application registration.
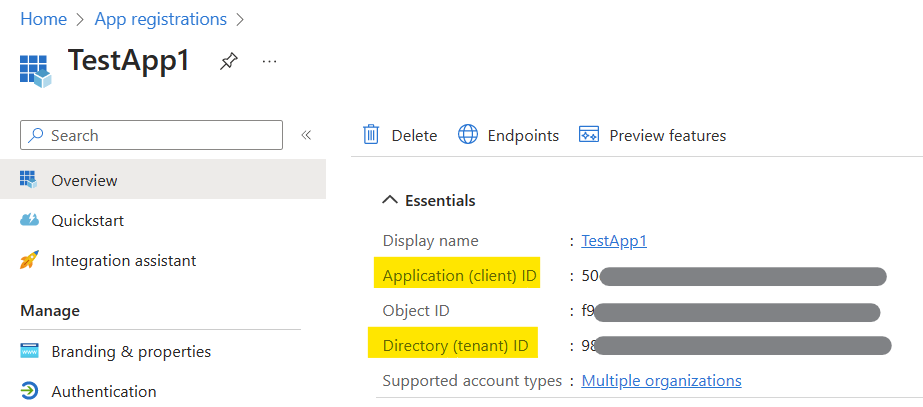
4. Provide a name for your service principal and select the appropriate account type. For example, you can choose between Accounts in this organizational directory only or Accounts in any organizational directory.
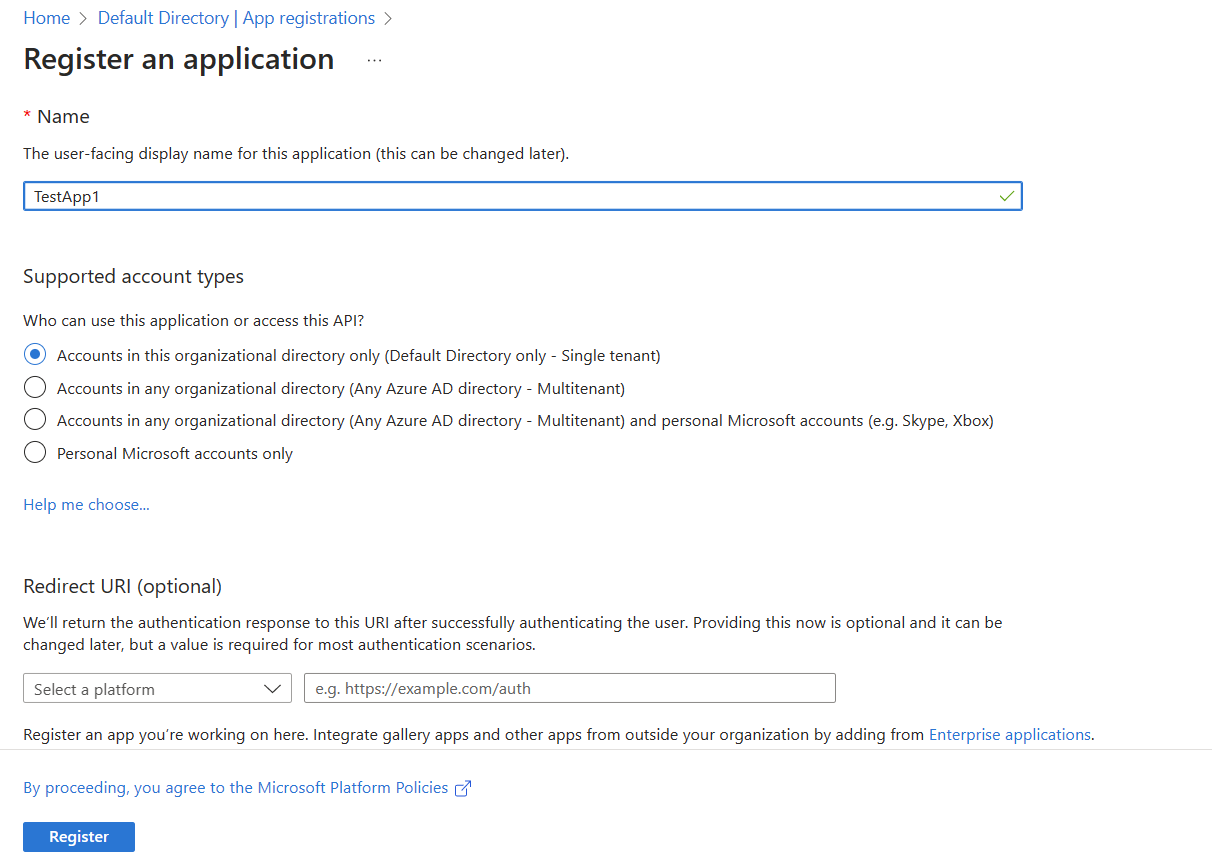
5. Once created, note down the Application (client) ID and Directory (tenant) ID as these will be needed later during the service connection setup.
6. Under the Certificates & secrets section, go to Certificates tab, click on Upload certificate button, and select the certificate in CER format, which we have downloaded before.

Step 3: Provide the Access to the Service Principal
We have set up the service principal. Now, we need to grant the necessary access of the Azure SQL server to the service principal, enabling it to execute the queries on the database.
1. Go to Azure portal and click on Azure Active Directory.
2. Click on Groups.
3. Click on New group
4. Give a Group name. Select the service principal, which we have created earlier as a member and click on Create to create the group.

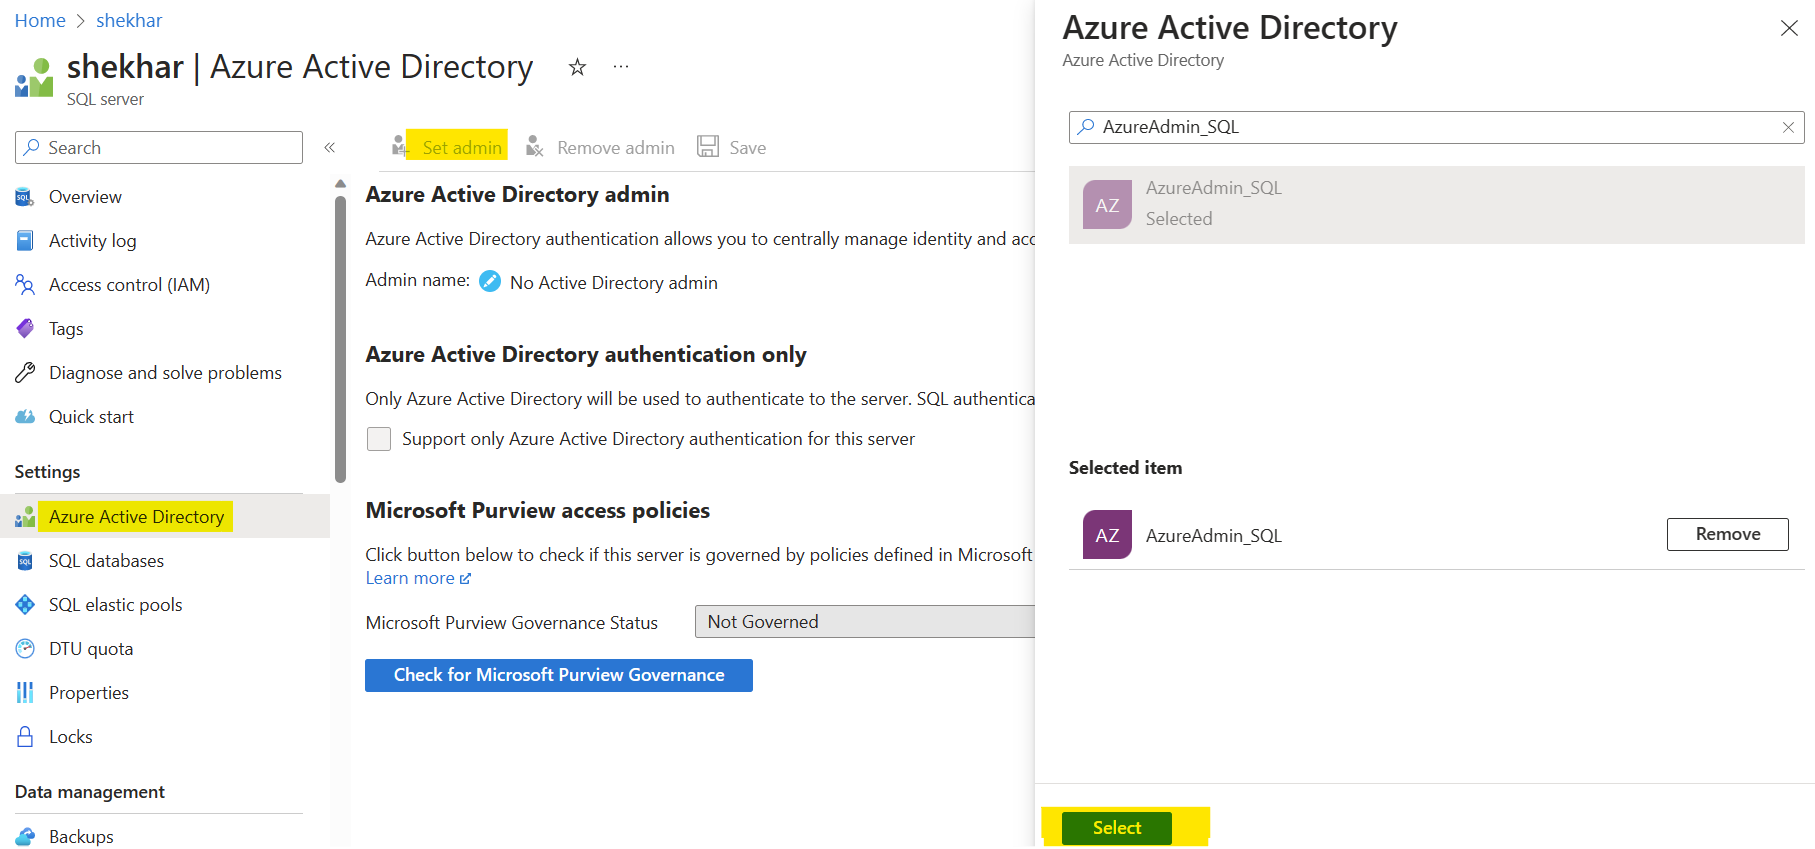
We have to set the Azure AD group (AzureAdmin_SQL) as Active Directory admin on the SQL Server. Let’s do this:
1. Go to your SQL Server and click on Azure Active Directory under Settings.
2. Click on Set admin. Select your AD group from the dropdown, click on it and click Select. Click Save to save it.
Note: After setting the Azure Directory Admin. The members of that group will be granted administrative privileges on the SQL Server. This means they will have elevated permissions and full control over the SQL Server instance.
Step 4: Create a Service Connection in Azure Pipelines
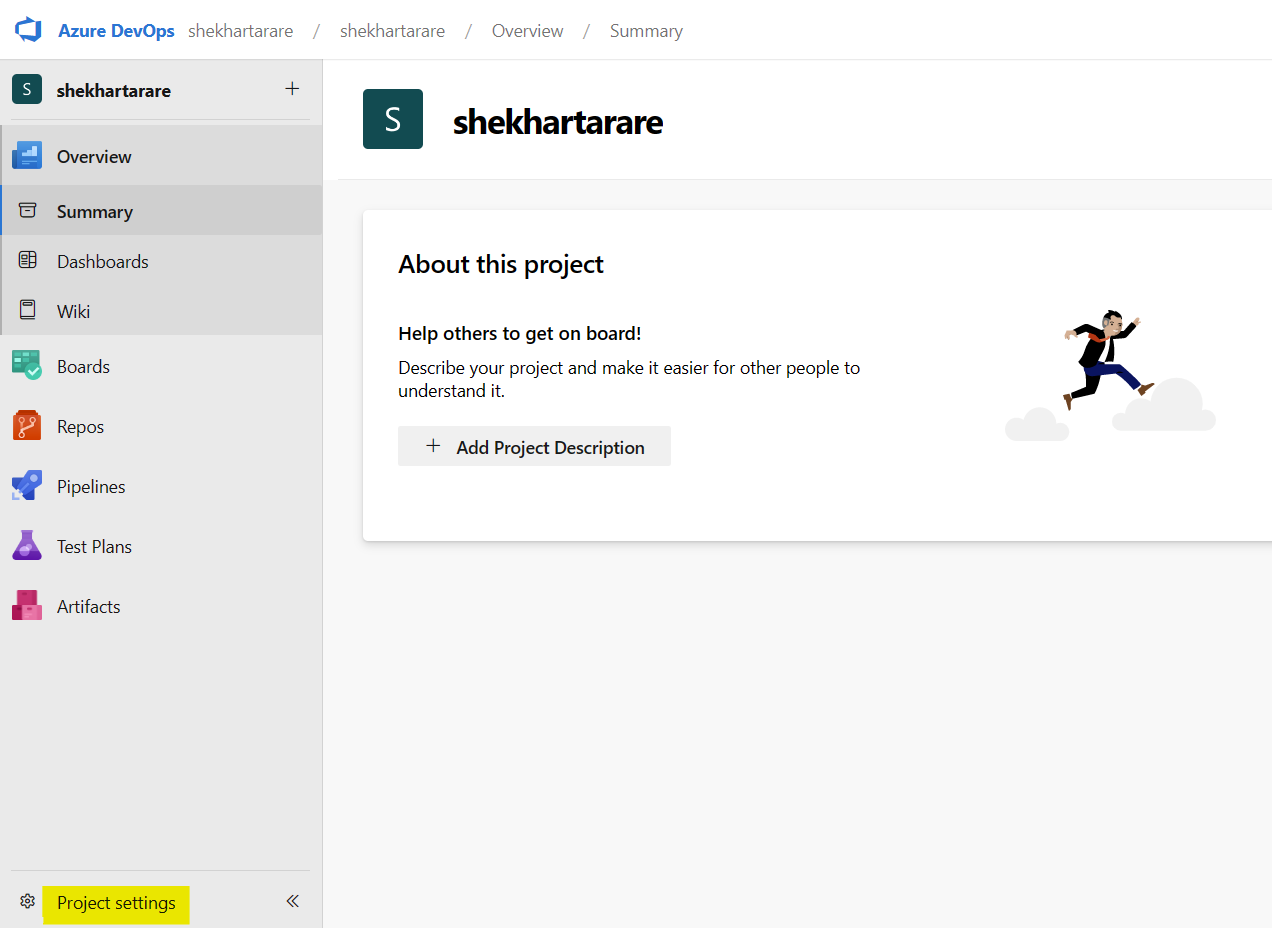
1. Open your Azure DevOps organization and navigate to your project.
2. Go to Project settings.
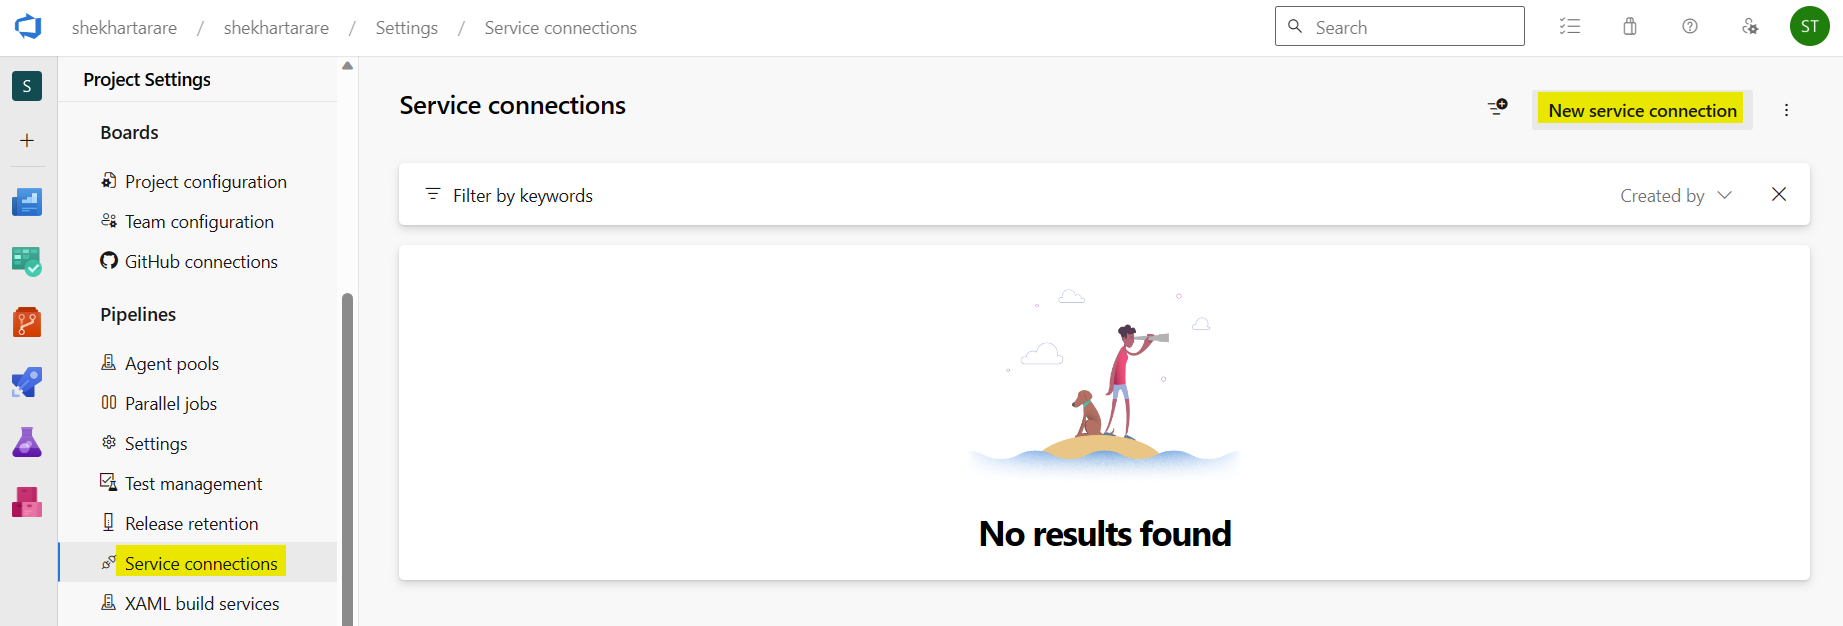
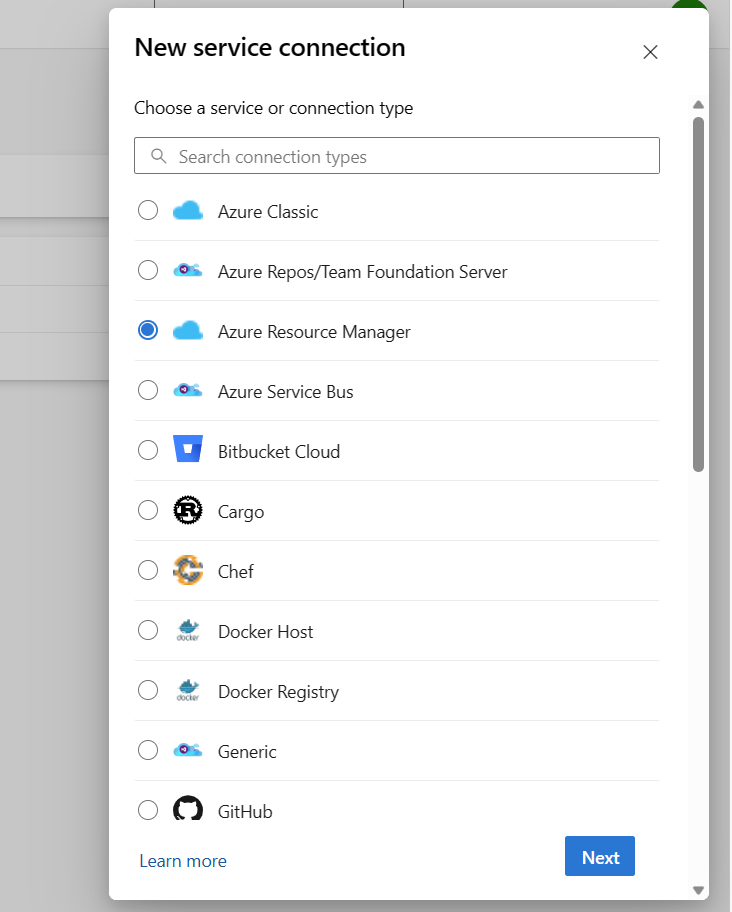
3. Select Service connections under the Pipelines section and click on New service connection.
4. Choose the appropriate service connection type based on your requirements. For example, you can select Azure Resource Manager for interacting with Azure resources.
5. Select the Azure Resource Manager option and click on Next.
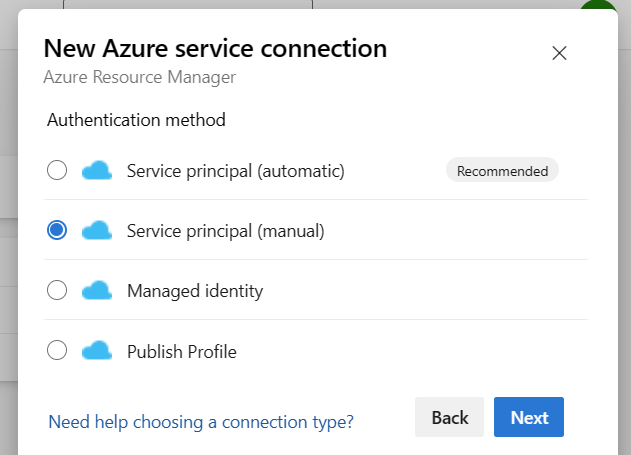
6. Select the appropriate authentication method. In this case, choose Service principal (manual) to manually enter the credentials.
7. Enter the Application (client) ID, Directory (tenant) ID and the content of the certificate which was in PEM format, we have downloaded this already.
8. Optionally, you can test the connection to ensure it is successful.

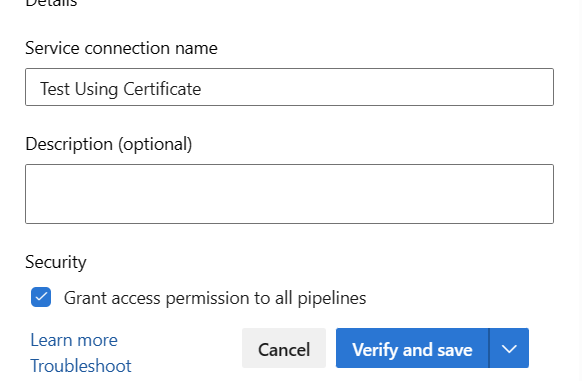
9. Provide Service connection name and click on Verify and save to create the service connection.
Note: You may encounter the following error if you fail to grant the service principal the necessary Azure subscription access permission.
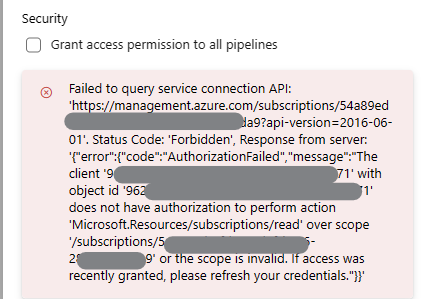
To solve this error. Follow the below steps:
1. Login to Azure Portal
2. Click on All Services
3. Click on Subscriptions
4. Go to Access Control (IAM). Click on Add and select Add role assignment.

5. Select the Role. I have selected Contributor for now. Select the radio button for User, group or service principal in Assign access to. Select the service principal name as a Member, click on Review, and assign to add the role.
6. Now, try to click on verify under Service Connection screen. It will succeed.
Step 5: Generate an Access Token
1. Open your Azure DevOps organization and go to your project.
2. Navigate to the Releases section and create a new release pipeline. Add a new empty stage to it and name it anything. I have named it Generate Token.
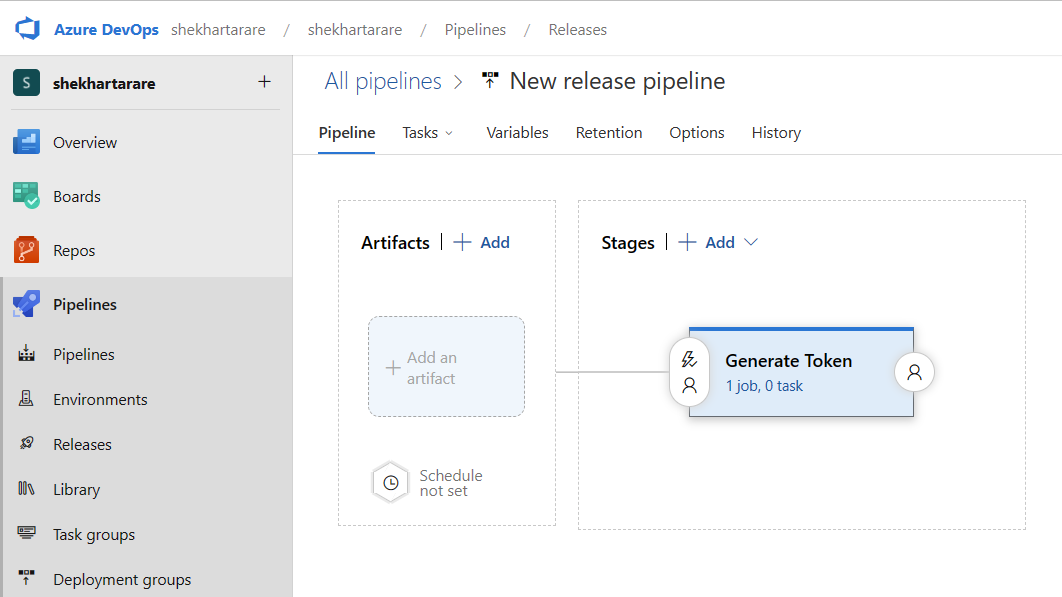
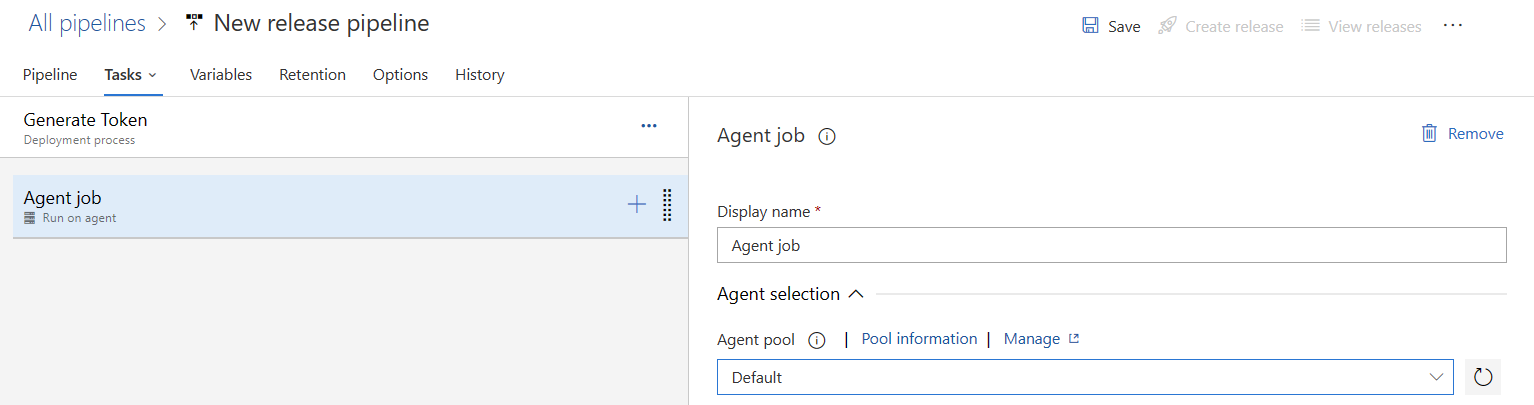
3. Open the Generate Token stage, under the Agent job, select the appropriate agent and add a new task.
4. Search for the Azure CLI task and add it to the pipeline.

5. Configure the task to use the created service connection by selecting the appropriate service connection from the Azure Resource Manager connection dropdown. Select Script Type to PowerShell and Script Location to Inline script.

6. Enter the below PowerShell script under Inline script:
Let’s try to understand the code:
The “az account get-access-token” command retrieves an access token for the specified resource.
The access token obtained using the Azure CLI command with the “--resource“parameter set to “https://database.windows.net” can be used to authenticate and authorize access to Azure SQL Database resources.
The “--query accessToken” option filters the command output to extract the value of the accessToken field.
The extracted access token is assigned to the “$token” variable in PowerShell for further use.
Step 6: Open the SQL Connection and run the script
We can use the access token generated on the previous step to open the SQL connection and run queries. Let’s add a task on the pipeline to do this:
1. Add a new task on our existing stage (Generate Token). Search for PowerShell and add it. Select Inline from the Type dropdown.

2. Add the below code under Script.
Explanation of the above code:
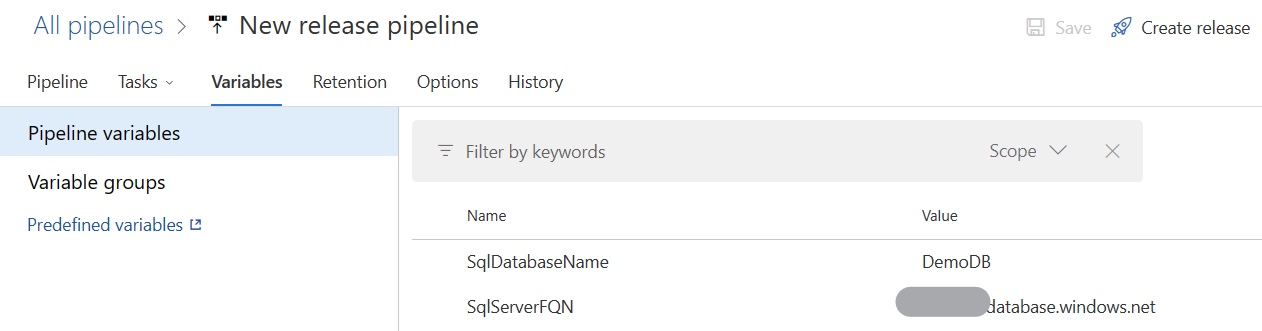
$sqlServerFQN: Represents the fully qualified name (FQN) of the SQL Server instance.
$sqlDatabaseName: Represents the name of the SQL database.
It opens the SQL connection using the details provided and runs the query.
For testing, we are assigning the role of db_ddladmin to the guest user. It closes the connection after running the query.
3. Make sure to add these 2 variables by going to variables tab. We are using this in the PowerShell code.
4. Our setup is ready. Run the release pipeline, it will run the query on the database.
Conclusion:
Running a SQL script from an Azure Pipeline using a Service Principal with Certificate authentication offers a secure and streamlined approach for database deployments. By following the steps outlined in this blog post, you can integrate SQL script execution seamlessly into your CI/CD workflow, ensuring consistent and reliable database changes. Automating database deployments with Azure Pipelines helps increase productivity, reduce manual errors, and improve overall software delivery efficiency.