In this article we are going to discuss about the implementation of CAPTCHA in ASP.Net web application. I will be going to create a small web application where I’ll implement the CAPTCHA.
What is CAPTCHA:
CAPTCHA is like a test to identify a human. It consists of two parts: a text box and a distorted image where a randomly generated sequence of letters or numbers is shown. Users need to enter the characters visible on the image into the text box to pass the test otherwise it doesn’t allow to go further.
CAPTCHA stands for “Completely Automated Public Turing Test to Test Computers and Humans Apart”
Advantages of CAPTCHA:
1. It helps in preventing automated submission of forms. If you implement the CAPTCHA in your registration page then you will not get the spam users.
2. The primary motive of using the CAPTCHA is to avoid spam messages or users.
Implementation of CAPTCHA:
You can write your own code for implementing the CAPTCHA or else you can use the open-source libraries. It depends on you.
Step 1 Create a new ASP.Net MVC application
I am using Visual Studio 2019 for creating the project.
Open Visual Studio and create a new project. Search “asp.net web application”, you will get the list, from there select ASP.NET Web Application (.NET Framework) and click on Next.

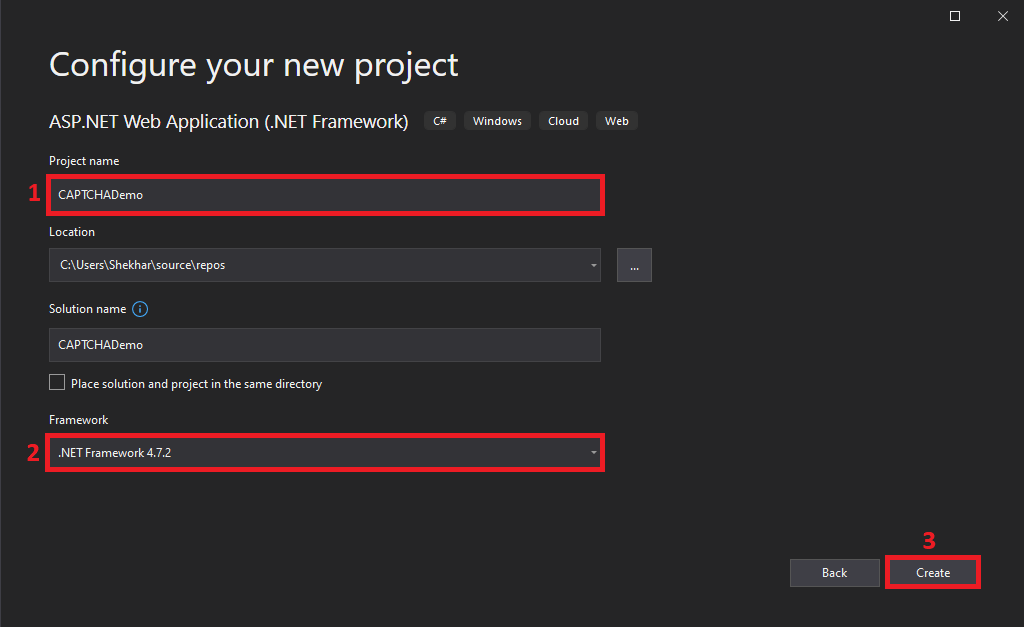
Give a project name and select the .Net framework version from the dropdown and click on Create.
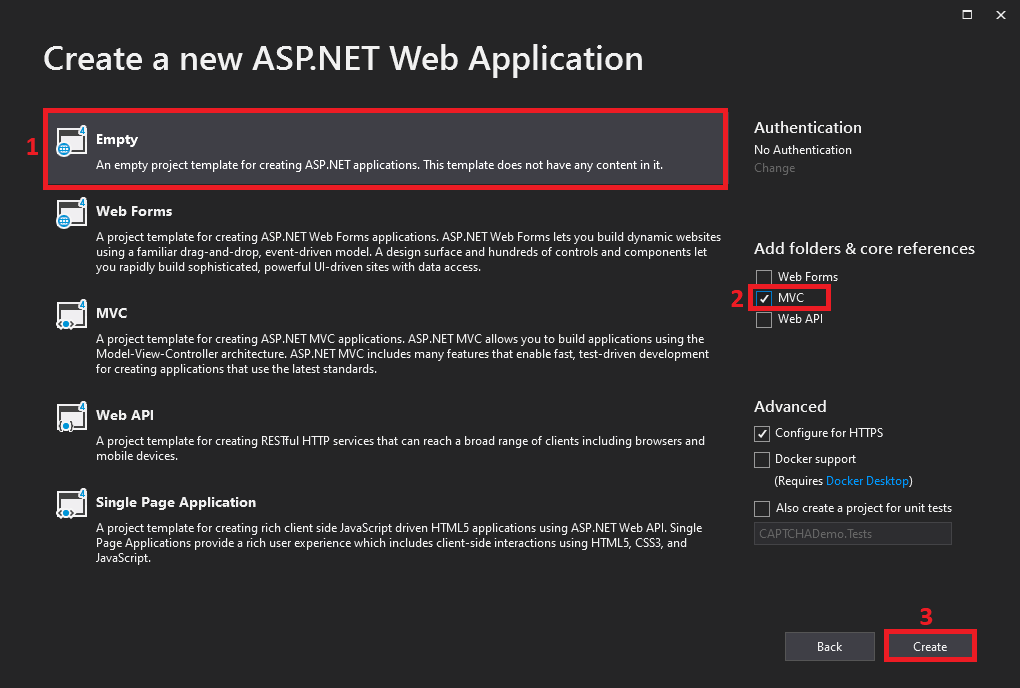
Select Empty, check the MVC checkbox and click on Create. It will create a project in a moment.
Step 2 Adding reference for CaptchaMVC from the NuGet Package Manager
We are going to use the CaptchaMVC for the purpose of CAPTCHA generation.
Right click References and click on “Manage NuGet Packages”.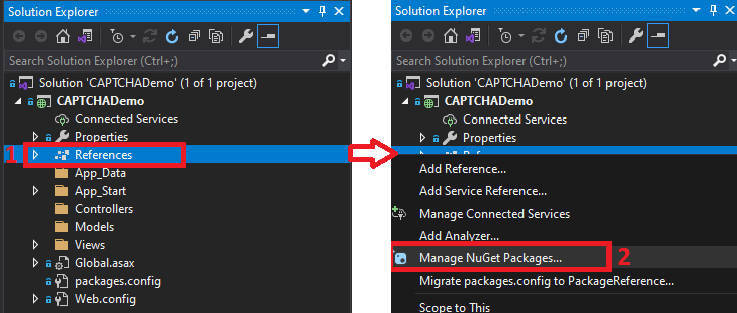
Click on Browse and search for “captchamvc”, select the CaptchaMvc.Mvc5 from the list and click on Install.
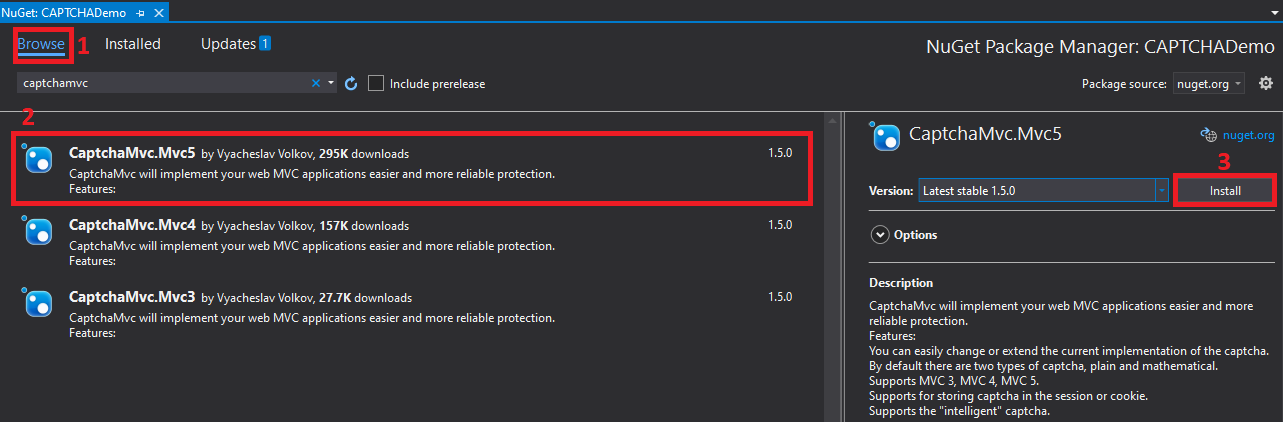
It will give one pop-up, click on OK. It will install the CaptchaMvc in our project.

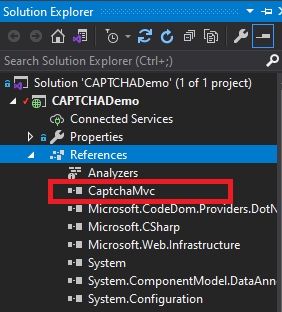
You can verify that by expanding the References.
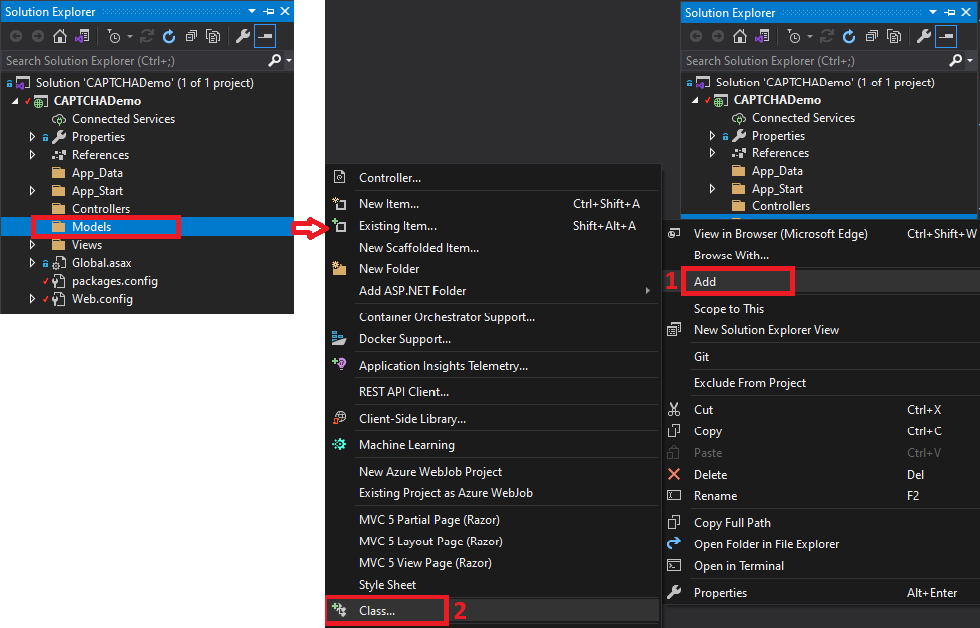
Step 3 Adding a Model
Right click Models and click on Add --> Class.
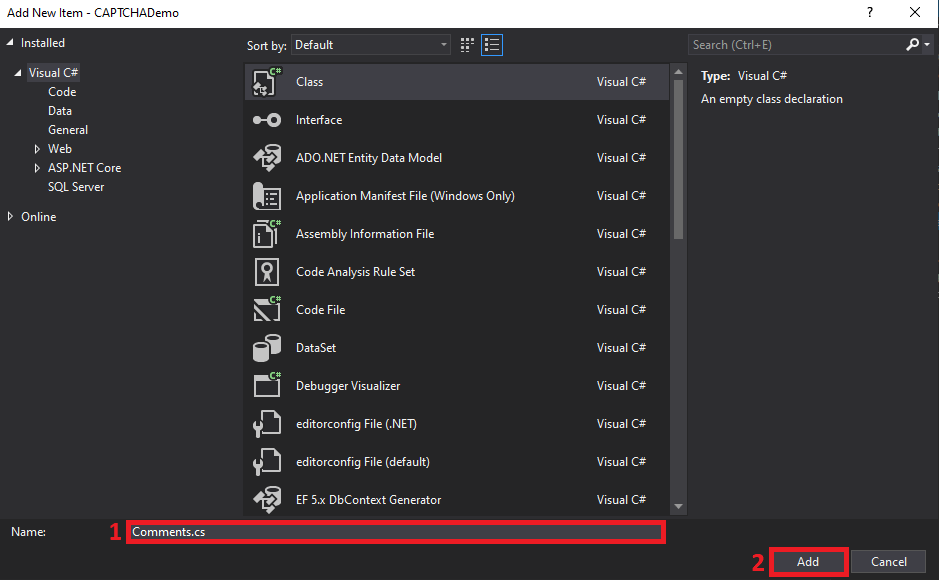
Give any class name and click on Add.
Add the following code in the class.
using System;
using System.Collections.Generic;
using System.Linq;
using System.Web;
namespace CAPTCHADemo.Models
{
publicclassComments
{
publicstring Name { get; set; }
publicstring Email { get; set; }
publicstring Comment { get; set; }
}
}
Step 4 Adding a Controller
Right click Controllers and click on Add --> Controller….
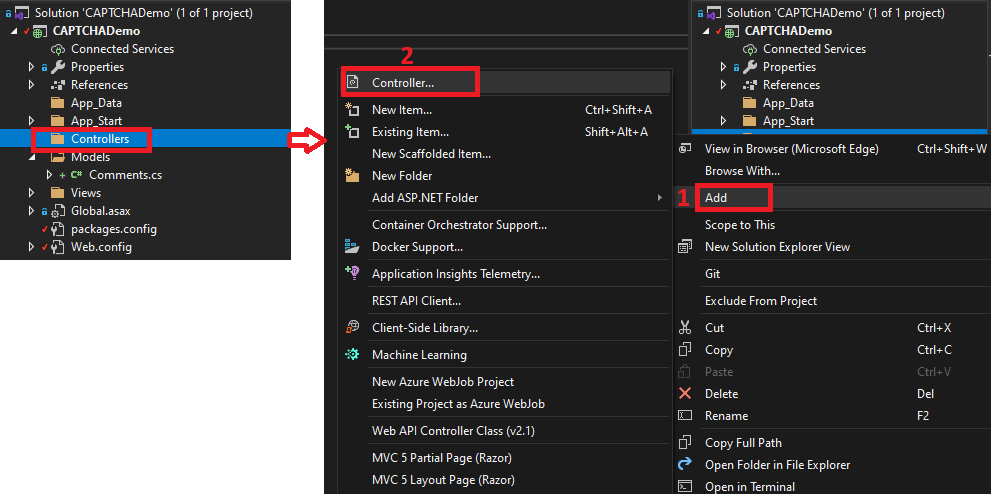
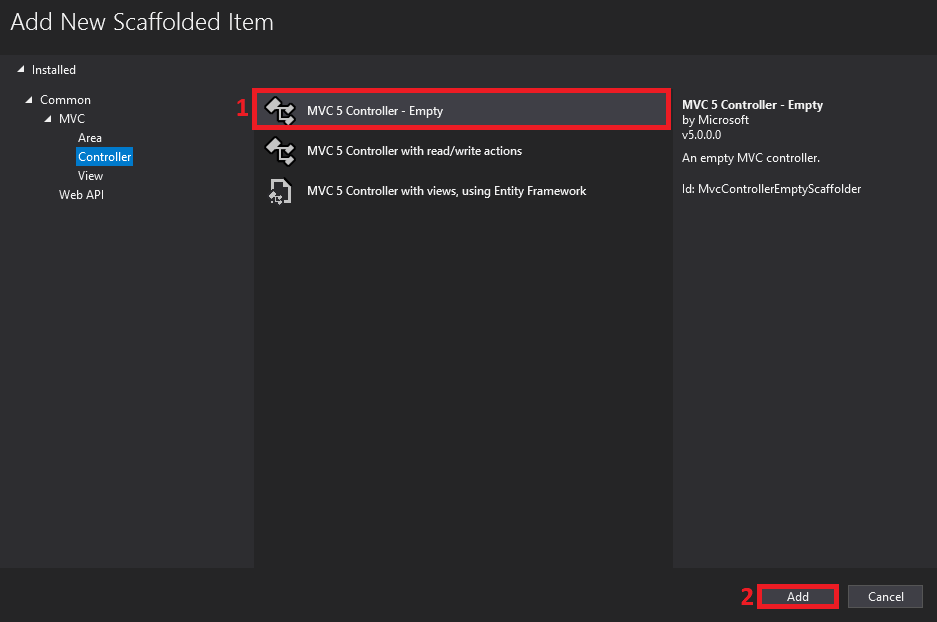
Select the MVC 5 Controller – Empty from the list and click on Add.
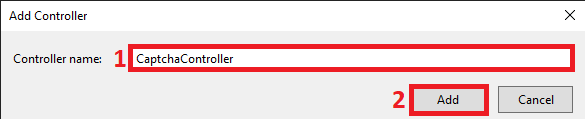
It will open a pop-up, give any name there and click on Add.
Add the following code in the class.
using CAPTCHADemo.Models;
using CaptchaMvc.HtmlHelpers;
using System;
using System.Collections.Generic;
using System.Linq;
using System.Web;
using System.Web.Mvc;
namespace CAPTCHADemo.Controllers
{
publicclassCaptchaController : Controller
{
public ActionResult Index()
{
return View();
}
[HttpPost]
public ActionResult Index(Comments comments)
{
//Here the validation will happen
if (this.IsCaptchaValid("Captcha is invalid"))
{
//redirect to this controller after verification
return RedirectToAction("AfterVerifying");
}
ViewBag.Error = "Invalid Captcha";
return View();
}
public ActionResult AfterVerifying()
{
return View();
}
}
}
Step 5 Adding Views
Right click Index action methods and click on Add View…

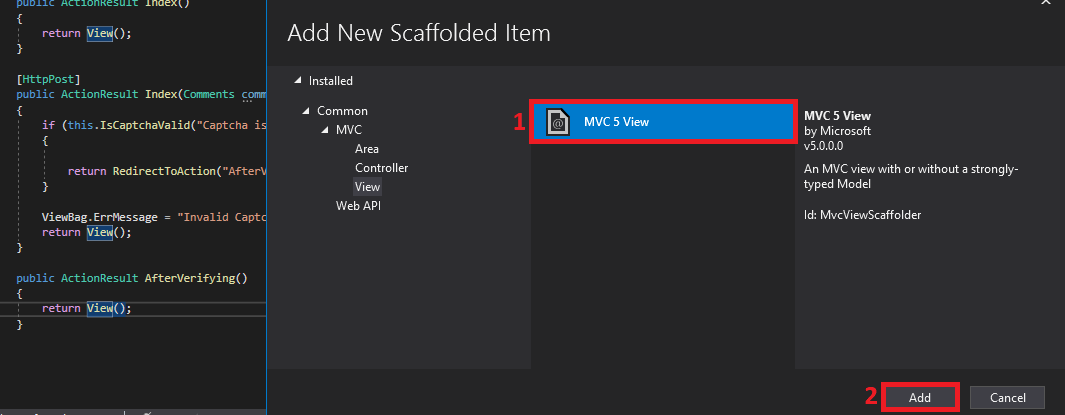
Select MVC 5 View and click on Add.
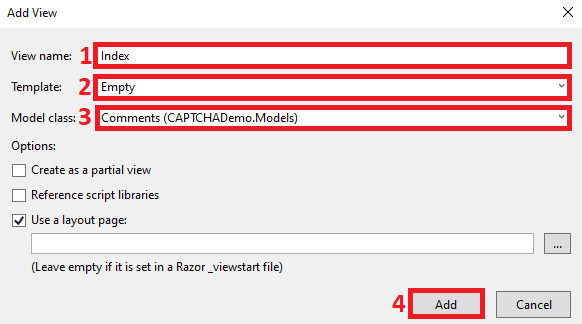
Give a view name. Select Empty Template and a Model class from the dropdown and click on Add.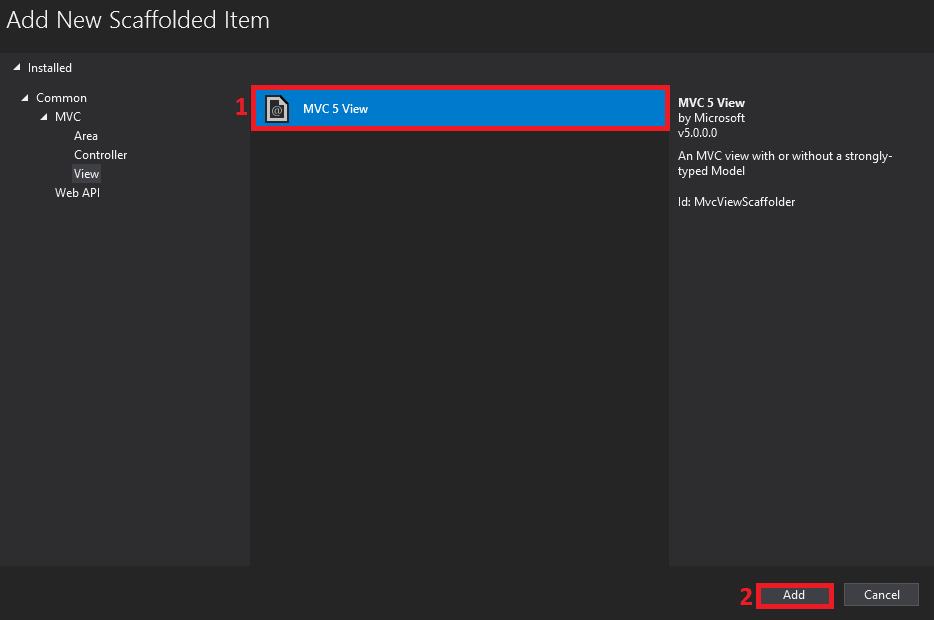
Give a view name. Select Empty Template and a Model class from the dropdown and click on Add.
Add the following code.
@model CAPTCHADemo.Models.Comments
@using CaptchaMvc.HtmlHelpers
@{
ViewBag.Title = "Index";
}
@using (Html.BeginForm("Index", "Captcha", new { enctype = "multipart/form-data", id = "Captcha" }))
{
@Html.ValidationSummary(true)
<fieldset>
<legend>Add your Comment</legend>
<div class="form-group">
<label>Name</label>
<div>
@Html.TextBoxFor(c => c.Name, new { @id = "Name", @class = "form-control", @placeholder = "Name", required = "required" })
</div>
</div>
<div class="form-group">
<label>Email</label>
@Html.TextBoxFor(c => c.Email, new { @id = "Email", @class = "form-control", @placeholder = "Email", required = "required" })
</div>
<div class="form-group">
<label>Comments</label>
@Html.TextBoxFor(c => c.Comment, new { @id = "Comment", @class = "form-control", @placeholder = "Comment", required = "required" })
</div>
@Html.MathCaptcha()
<br />
<p class="text-danger"> <strong> @ViewBag.Error </strong> </p>
<p>
<input type="submit" value="Submit Comment" />
</p>
</fieldset>
}
Right click AfterVerifying action methods and click on Add View… Select MVC 5 View and click on Add.
Give a view name. Select Empty Template and click on Add.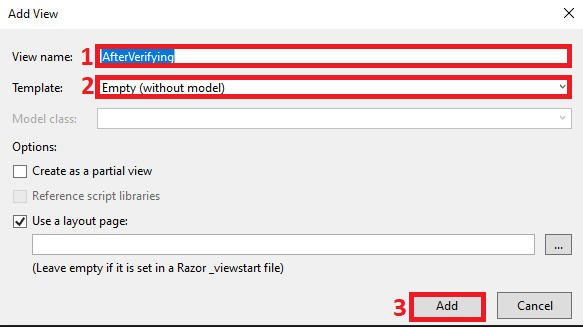
Add the following code.
@{
ViewBag.Title = "AfterVerifying";
}
<h2>Thanks!h2>
Note: I have also installed the Bootstrap from the NuGet package manager to give the good look to the page.
One last thing, make the following change on the RouteConfig file.
public static void RegisterRoutes(RouteCollection routes)
{
routes.IgnoreRoute("{resource}.axd/{*pathInfo}");
routes.MapRoute(
name: "Default",
url: "{controller}/{action}/{id}",
//Changed from Home to Captcha
defaults: new { controller = "Captcha", action = "Index", id = UrlParameter.Optional }
);
}
Step 6 Test the changes
It’s time to test our changes.
It will give the error, if we don’t answer or enter the wrong answer.
Complete Code Here
You can get the complete code on my GitHub account by going to this link.
